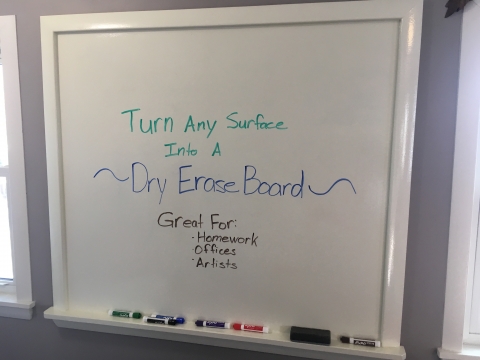
Dry Erase Boards
Turn any surface into a Dry Erase Board! Dry Erase Boards are great for helping with homework, organizing the office, or make great sketching surfaces for the artistic!
Pictured is a dry erase board that is made to match the room's window casing though the wall could have been used as the boards surface just as easily.
Project Process
The key to making great dry erase boards is to start with an extremely smooth surface. Often times this means skim coating the desired surface with a fresh coat of plaster and sanding it smooth with an extremely fine grit sandpaper. The surface can then be primed and painted any color though shades of white are recommended for the sake of visibility.
Once the desired dry erase surface has been smoothed out and painted, the fresh paint needs to fully cure - maybe 24-48 hours depending on humidity and temperatures. After that, the Dry Erase coat can be applied. The product will apply with a white finish initially but as it dries it will turn transparent. It is extremely important at this time to keep the new surface clean of any dust or debris from settling on the board. After waiting a week for the dry erase coat to fully cure, the dry erase board will be finally ready for use.
Care
Standard dry erase markers can and should be used exclusively on these boards. Our experience with Expo brand has worked out well for us in the past. While we have not experienced any problematic colors, some internet reviews of similar projects warn of using brighter colors that may bleed into the surface permanently. To maintain a pristine surface we recommend wiping the board clean about once a week with a specialty cleaner.
Contact Luke at (708)715-1948 for a free estimate!

